Pallet walls have become increasingly popular in modern times, thanks in part to the rise in upcycling and rustic design styles made from salvaged, affordable materials.
This might seem like a time consuming task to many, however, with the right steps and the proper tools, this can be a fairly quick and easy DIY task that will create a striking, visual focal point in any room in your home.
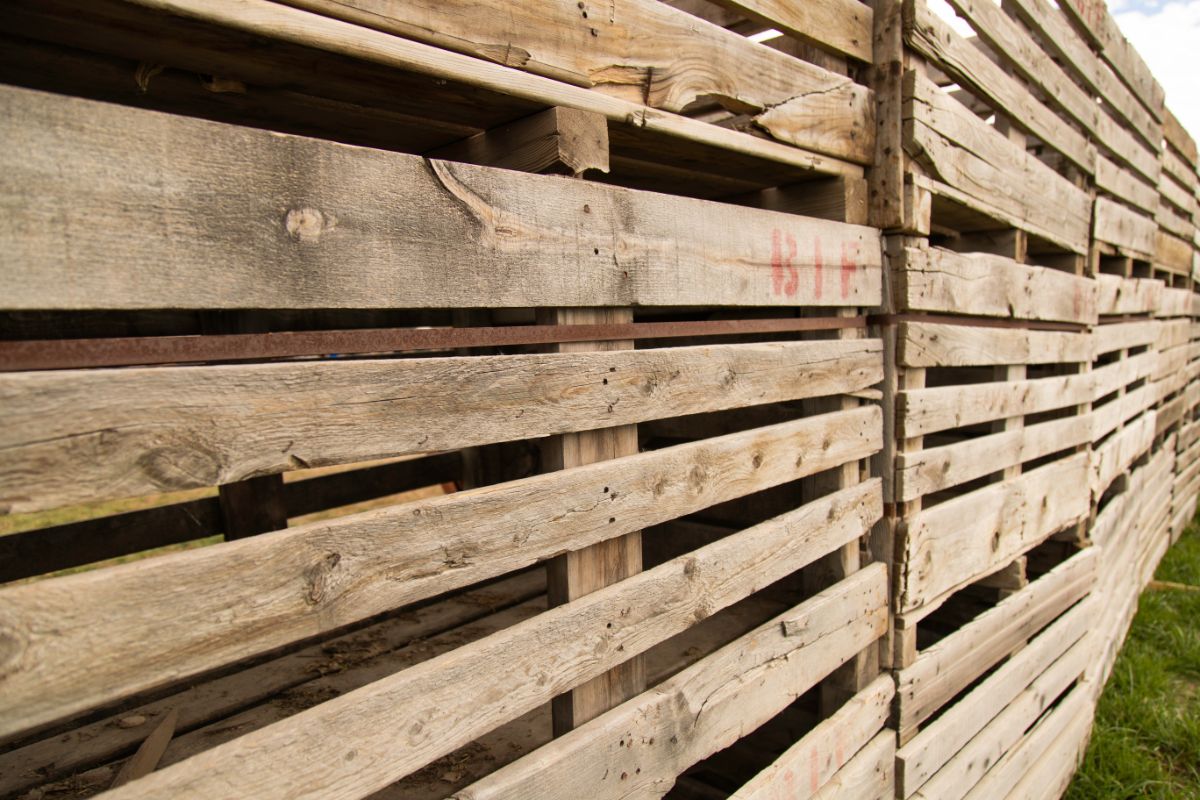
A pallet wall is precisely what it sounds like – a wall made from pallet wood.
Pallet wood is a cheap quality of wood, used mainly to create wooden pallets used for the transportation and storage of heavy goods – and as such they are affordable to get a hold of, and pretty accessible for most people.
What Equipment Is Needed?
Of course, before any job, a certain amount of preparation is needed before you can begin the installation. This includes collecting the proper tools, the wood itself, and the components needed to bond it to the wall of your choice.
The Wood
If you don’t already have the pallet wood, there are many places where it can be found – many of which will probably provide it to you for free.
Pallets are frequently used by supermarkets and department stores, as many products are delivered using this method.
Try asking at your local supermarket, or at a department store that has home products and furniture, as these will be your best bets.
Or, as previously mentioned, you could also try junkyards, salvage yards, and industrial areas that have a lot of deliveries. Many of these places will probably be more than happy for you to take as much as you need, however some may ask for a small fee.
The Tools
The basic tools you will need for this are a handsaw, a table saw (if you have one), a reciprocating saw with metal blades, an air powered pin nail gun (compressor), tape measure, a pencil, a level, a drill, and a stud finder (if you have one).
How To Prepare The Wall
Before you start nailing boards to your wall, it is best to prepare the wall in question.
The best thing to do when creating a pallet wall is to place a board of plywood across it first. This means that, should you ever choose to remove the pallet wall at a later date, you will still have a usable, good quality drywall left over.
It is important to use the stud finder to locate the hardwood to attach your plywood onto, this will ensure that the whole construct is sturdy and that it won’t cause any undue damage.
The board can be attached to the existing drywall with nails around the corners and the ends, minimizing the damage to the wall, and leaving a nice, smooth, strong base to hold the pallet wood.
The Installation Process
Now you have the right tools, and the wall is prepared for installation, it is time to start the process. This works best if you follow a series of simple steps, making sure to take your time and make sure you haven’t missed anything.
Step One
The first step is to break up the pallets, using the reciprocating saw to create nice, clean cuts across the wood.
Try removing as many of the nails beforehand, as this will help to preserve as much of the wood, and make it as usable as possible when it comes to sawing. However, avoid using a crowbar or other such blunt force tools, as this will damage the boards and ruin the finish of the wood.
Step Two
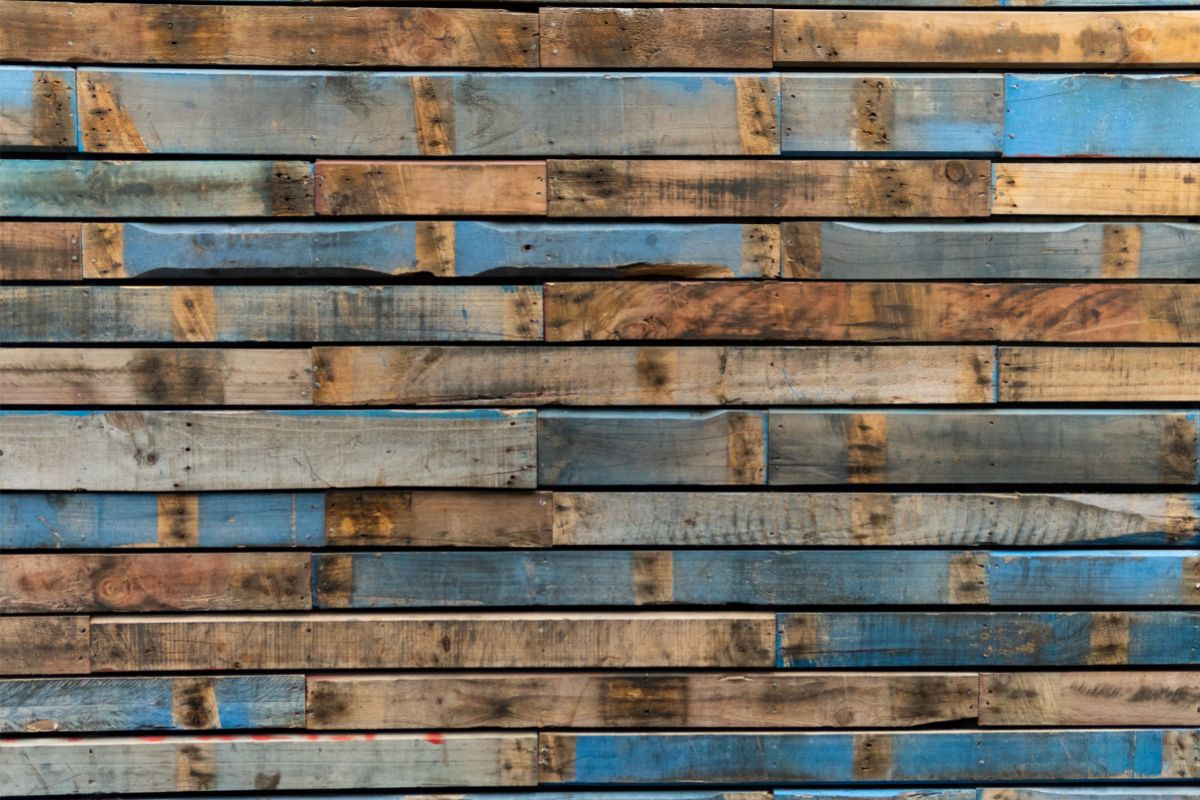
The first thing you will realize is that the width and length of the planks are not standardized – namely because they were scrap pieces of wood to begin with.
This can work to your advantage though, allowing you to fill little gaps in the wall, and adding to the overall rustic design of the finished article.
The best way is to organize them in length and width order. This will allow you to more effectively slot them into place.
Step Three
Now for the actual installation process.
The whole look is more effective if the seams are staggered and not uniform, but the only way to plan this is to lay them out on the ground beforehand, or to just wing it and start attaching them to the wall.
Opting for the latter, begin at the top of the wall, as this will be easier when it comes to making any adjustments.
This is where you will need the nailgun, using as many as you feel comfortable with, but making sure that the first row you attempt is level.
Step Four
Once you have covered the wall, now comes the finishing touches. This could mean making any adjustments for the sizing of the bottom row, or applying a finish to the wood if that is your intention.
This will seal the wood, stop it getting tarnished or damaged, and will give it an attractive shine – not to mention helping you avoid splinters. Before you do this, sand off the wood lightly with some sandpaper, ensuring all the rough edges are taken care of.
Then take a clear, indoor wood varnish, starting with one generous coat at first, and then applying more once it has dried (if necessary).
Hi, my name is Maisie Park and I have recently moved into the home I renovated with my husband. It took an entire year to get it just the way we wanted it, and I learned a thing or two along the way!
We started this project together with no prior experience in renovating houses or home improvements – I think the best I had was that I knew how to change a lightbulb.
Flash forward a year and here I am, creating a website to guide others through these challenges.
Please use my website as a source of inspiration for your own home – does your porch need a fresh lick of paint, by any chance? We all deserve to live in the house of our dreams, so what’s stopping you? Let’s get started!